Budget Mini Split Installed Cost: Why Is It $1,800 to $3,500?
A budget mini split can look inexpensive online, then land at an installed price of $1,800 to $3,500—or more—once the system is actually working in your home. The difference is usually not a mystery markup. It is the combined cost of the equipment, electrical work, mounting, refrigerant-line setup, accessories, permits, and labor.

The useful question is not just “How much is the unit?” It is “What tool does this really require, and what work is included?” A mini split may need only a few hours of straightforward installation, or it may require a new circuit, a long refrigerant line route, wall repairs, and a second visit from an electrician. Those details are what move the installed price.
This guide explains what the $1,800-to-$3,500 installed price range often represents, how true DIY differs from marketing DIY, and why a 115V plug-in option is not always as plug-and-play as it sounds.
What Does an Installed Price of $1,800 to $3,500 Usually Include?
For a basic, single-zone budget mini split, the installed price range often includes the indoor head, outdoor condenser, a standard installation, and the smaller materials needed to connect and mount the system. It may also include a limited amount of refrigerant line, wall penetration, condensate drainage, and startup testing.
But “installed” is not a standard package. One contractor may include an outdoor wall bracket, line-hide, an electrical disconnect, and permit handling. Another may quote equipment and labor while listing those items as add-ons. Before comparing estimates, ask what is included in labor and parts—and what is specifically excluded.
Cost component What it can cover Why it varies Equipment Indoor unit, outdoor unit, and sometimes a standard line set Capacity, brand, features, and included accessories Installation labor Mounting, drilling, routing lines, connecting equipment, and startup Access, distance, wall construction, and local labor rates Electrical work Branch circuit, wiring, breaker, and outdoor disconnect where required Existing service, unit requirements, and local code Accessories Line-hide, wall bracket or pad, drain materials, and surge protection Route length, appearance preferences, and site conditions Permits and testing Permit fees, inspections, evacuation, and commissioning checks Local requirements and contractor scopeA low advertised price may cover the equipment only. An installed quote may 9,000 btu mini split include the equipment plus labor and parts, but still exclude a new electrical circuit or permit fees. Get the scope in writing instead of treating the word “installed” as a guarantee.
Where the Money Goes
1. The equipment is only the starting point
Budget units from brands such as MrCool and Pioneer can make ductless heating and cooling more accessible, but the system price is only one part of the project. Capacity, efficiency, heating performance, warranty terms, and what comes in the box all matter. A unit advertised with a line set may not include the exact length or every accessory your layout needs.
Also, choosing a larger unit to “be safe” is not automatically a good deal. Oversizing can lead to short cycling, less comfortable temperature control, and unnecessary cost. A basic room and load assessment is worth doing before you shop by square footage alone.
2. Labor depends on the actual route—not a showroom photo
A short, direct route through an exterior wall is generally simpler than a line set that must travel around a corner, through an attic, or up to a second floor. Installers also have to account for where the indoor head can drain condensate, how the outdoor unit will be supported, and whether service access will remain practical.
Longer routes can mean more materials, more time, and sometimes a need to check the manufacturer’s limits for line length and elevation change. Copper line sets are not decorations that can be casually coiled behind the condenser. Excess length, tight bends, and poor routing can create real performance and service issues. Ask how the proposed route compares with the unit’s installation requirements.
3. Electrical work can turn a small job into a bigger one
Electrical scope is a frequent reason a budget project costs more than expected. The home may need a new branch circuit, a correctly sized breaker, suitable wiring, an outdoor disconnect, or a panel assessment. Whether these items are required depends on the specific equipment, existing electrical service, and local code.
Some smaller systems are sold as 115V units with a cord and plug. That can be convenient when the model is designed for it and there is an appropriate receptacle in the right location. But “115V” does not mean every outlet is suitable, nor does it promise that the entire installation has no electrical work. The receptacle, circuit capacity, placement, and manufacturer instructions still matter.
Many mini splits instead require a 230V hardwired connection. That generally calls for a properly sized circuit and an outdoor disconnect, installed according to the equipment specifications and local rules. If a new circuit is needed, the electrician’s visit can be a substantial addition. This is one of the items on my personal list of things that ruin weekends when it is discovered after the equipment arrives.
True DIY vs. Marketing DIY
“DIY mini split” can describe very different products and responsibilities. With a conventional installation, the homeowner might handle mounting, drilling, and routing while a qualified HVAC professional performs the refrigerant work and verifies startup. That can reduce labor, but only if the contractor is willing to work with homeowner-prepared portions and the plan is coordinated in advance.
Other systems use pre-charged quick-connect line sets marketed for easier installation. These can simplify certain refrigerant connections, but they do not make every part of the job risk-free or tool-free. You still need to confirm compatibility, handle the line set carefully, seal the wall penetration, manage condensate, mount the equipment securely, and satisfy electrical and permit requirements. Follow the manufacturer’s instructions; a mistake at a connection can mean a leak, a failed installation, or a warranty dispute.
For conventional refrigerant connections, the right process typically involves a vacuum pump and manifold gauges, along with appropriate fittings and knowledge of the equipment. The vacuum pump removes air and moisture from the refrigerant circuit; gauges help monitor system pressures during the prescribed work and checks. These are not props to buy at the last minute. Having tools is not the same as knowing how to use them or verifying a tight, dry system.
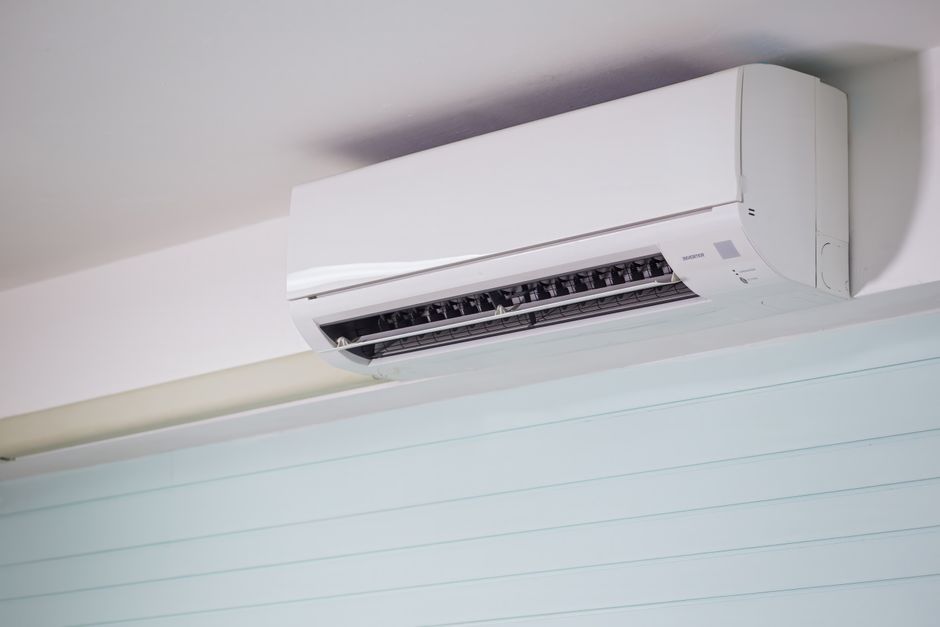
Before deciding that DIY will save money, ask the practical question: what tool does this really require? Then ask whether you can obtain the tool, use it correctly, and take responsibility for the result. Tool rental is not automatically a shortcut, especially if a supplier will not rent the equipment or a contractor will not commission work completed outside their scope.
Pre-Charged Quick-Connect Line Sets: Helpful, Not Magic
Quick-connect systems can reduce the need for the homeowner to perform some conventional refrigerant-line procedures. That convenience is real, but it is not the same as a universal “no expertise needed” installation. Line length, connector compatibility, bend radius, routing, and manufacturer-specific steps still matter.
Pay close attention to the line-set arrangement that comes with the unit. A pre-charged set may be offered in particular lengths. If it is too long, the extra copper should not be casually coiled wherever it fits. If it is too short, you may need a compatible extension or a different installation approach. Do not assume that a line can be cut and reused like ordinary plumbing: the refrigerant charge and connection method determine what is permissible.
Custom-cut line sets offer more flexibility for a carefully planned route, but they can require conventional flare work and proper evacuation using a vacuum pump and manifold gauges. That may mean professional labor, even when the homeowner bought the equipment. Check the manual and confirm with the installer before ordering accessories.
Fixed-Length vs. Custom-Cut Line Sets
Fixed-length sets
Fixed-length sets can be convenient when the indoor and outdoor units are close together and the route works with a length offered for that model. Their advantage is predictability: you know the available length before installation. The drawback is that the length may not match your wall layout, and excess line still needs to be routed within the manufacturer’s rules.
Custom-cut sets
Custom-cut lines can fit an unusual or longer route more neatly. They may also avoid an awkward visible coil. The trade-off is that cutting, flaring, connecting, and evacuation require the correct materials, equipment, and technique. That is where a seemingly small DIY project can become an HVAC service call.
Ask the installer how much line is included in the base quote, what the charge is for additional length, and whether line-hide is included. These questions are more useful than assuming every system includes a complete, finished route.
Accessories That Can Add to the Total
I remember a project where wished they had known this beforehand.. Accessories are easy to overlook because they may seem minor individually. Together, they can make the installation look finished and work better day to day:
- Outdoor support: a ground pad or wall bracket, selected for the location and installation requirements.
- Line-hide: covers exposed refrigerant lines and wiring for a cleaner exterior appearance.
- Drain materials: tubing or fittings needed to carry condensate away appropriately.
- Electrical components: a disconnect, wiring, breaker, or other items required by the equipment and code.
- Weather sealing: materials to close and protect the wall opening.
- Surge protection: an optional item to discuss based on the system and electrical setup.
Ask for accessories to be listed separately in the estimate. That makes it easier to see whether you are paying for a necessary installation component, a cosmetic finish, or an optional upgrade.
Why Two Quotes Can Be Hundreds Apart
One contractor may include a basic back-to-back installation with a short line run; another may price a longer route with line-hide, a wall bracket, and electrical work. Their labor rates may also reflect different insurance, warranty support, permitting, and service coverage. A higher quote is not automatically better, and a lower one is not automatically suspicious—but a quote that does not describe the work is difficult to compare.
If you are looking for local help, a company such as Zone Air may be one option to contact for a site-specific estimate. Ask any contractor—including Zone Air—whether the price covers equipment, installation labor, electrical work, accessories, startup, and permit handling. Confirm what happens if the existing panel or installation location needs attention.
How to Keep the Project Near the Lower End
- Choose the location before ordering. A simple, accessible route can reduce line length and labor.
- Check the electrical requirements. Confirm voltage, circuit needs, and disconnect expectations for the exact model.
- Measure the real line route. Include turns and elevation changes rather than guessing from straight-line distance.
- Compare complete quotes. Put equipment, labor and parts, accessories, permits, and startup side by side.
- Decide who owns each task. If you are doing any work yourself, agree in advance on what the installer will accept and commission.
- Avoid false savings from oversizing. Get a reasonable capacity recommendation so the unit is not oversized just to feel safer.
The Bottom Line
A budget mini split can cost $1,800 to $3,500 installed because the price includes much more than the indoor and outdoor units. Electrical work, refrigerant-line routing, mounting, labor, accessories, permits, and startup all contribute. A 115V plug-in model may simplify one part of the project, while a 230V hardwired system may require an electrician and a new circuit.
Pre-charged quick-connect line sets can make some installations more approachable, but they do not erase layout, electrical, sealing, drainage, or manufacturer requirements. Custom-cut lines may suit a difficult route, but often involve specialized refrigerant work. Before buying, compare the full scope—and ask what tool the job really requires. That is a much better way to avoid a surprise bill, a second service visit, or an unfinished system sitting in the garage.