What Does HSPF2 Actually Mean for Winter Heating Costs?
When you compare heat pumps, HSPF2 looks like a direct clue to your winter bill. It is useful—but it is not a promise that your garage will cost a certain amount to heat. The rating measures seasonal heating efficiency under standardized test conditions. Your actual heat pump winter cost also depends on your local weather, electricity price, garage insulation, equipment sizing, installation, and thermostat habits.
Here’s HSPF2 explained in practical terms: what the number measures, how to estimate operating costs, and how to choose a garage mini-split without overlooking BTU sizing or electrical requirements.
What HSPF2 Measures
HSPF2 stands for Heating Seasonal Performance Factor 2. It compares the heat a ductless heat pump delivers over a standardized heating season with the electricity it uses. The result is expressed in Btu per watt-hour (Btu/Wh). A higher HSPF2 generally means the system delivers more heat for each unit of electricity under the rating test.
The “2” matters. HSPF2 uses an updated test procedure intended to better reflect real-world operation than the older HSPF test. That means you should compare HSPF2 with HSPF2, not treat the two rating systems as interchangeable. Ratings also don’t tell the whole story about cold-weather performance: two models with similar HSPF2 values may differ in how much heat they can deliver when outdoor temperatures fall well below freezing.
Why a seasonal rating isn’t a winter-bill guarantee
HSPF2 is a lab-based seasonal measure, not a forecast for your address. Its test conditions cannot capture every detail of a specific winter, such as prolonged cold snaps, wind exposure, or how often a garage door opens. The rating also doesn’t account for your utility’s electricity rate, your thermostat setting, or how much heat escapes through your garage walls and ceiling.
Before buying, check the manufacturer’s performance data for heating capacity at low outdoor temperatures—not just HSPF2. In cold-winter areas, look for the model’s capacity and operating limits at temperatures that are realistic for your location. A high seasonal rating is helpful, but it does not automatically mean the unit will maintain your preferred temperature during the coldest nights.
HSPF2, SEER2, and Seasonal Heating Efficiency
HSPF2 is the heating-season rating; SEER2 is the cooling-season rating. SEER2 measures cooling efficiency across a standardized season. Both ratings help compare equipment, but neither provides a complete prediction of what you’ll spend. For a garage used mostly in winter, give particular attention to HSPF2 and cold-weather heating capacity. If you also cool the space in summer, SEER2 matters too.
Seasonal heating efficiency is only one part of a good system. A heat pump that is too small may run constantly and struggle to keep up. One that is too large can cost more upfront and may cycle more than necessary in milder weather. Installation details—such as the line-set route, refrigerant connections, airflow, and outdoor-unit placement—also affect performance and serviceability.
Estimate Your Heat Pump Winter Cost
You can make a rough estimate using the unit’s HSPF2 rating and your electricity price. First estimate how much heat the system must deliver over the season. Then divide that heat by the rated efficiency to estimate electrical use. Because HSPF2 is in Btu per watt-hour, the calculation is:
Estimated electricity use (kWh) = seasonal heat delivered (Btu) ÷ HSPF2 ÷ 1,000
Estimated cost = estimated electricity use (kWh) × your electricity price per kWh
For example, suppose a system delivers an estimated 20 million Btu over a heating season and has an HSPF2 rating of 8.0. The simplified calculation is 20,000,000 ÷ 8.0 ÷ 1,000, or about 2,500 kWh. At an electricity rate of $0.18 per kWh, that would be roughly $450 for the season.
This example is for understanding the rating, not a personalized bill estimate. Real seasonal heat demand can be difficult to calculate, and actual performance varies with outdoor temperature, defrost cycles, installation, and usage. If your utility has time-of-use pricing or fixed charges, those can change the bill as well.
Garage BTU Sizing Is Different from Room Sizing
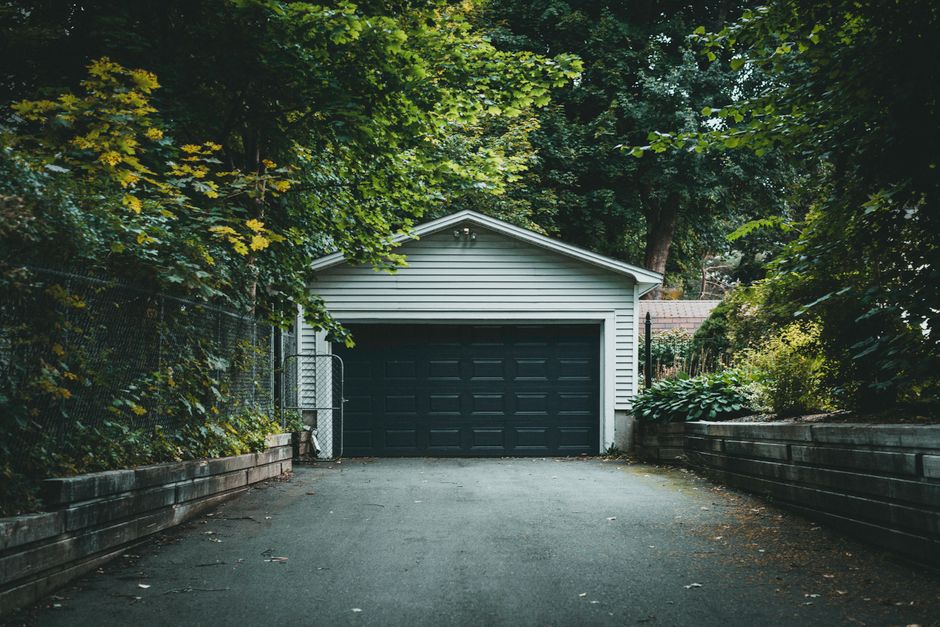
Interior-room BTU charts are a poor shortcut for a garage. A typical garage may have an uninsulated slab, a large overhead door, air leaks, unfinished walls, and a high ceiling. It may also be used intermittently, so the system has to recover from a colder starting temperature. These conditions can create much higher heating loads than those in an insulated room of the same floor area.
As a starting point, a garage may need 30% to 50% more BTU capacity than an interior room of the same size. Treat that as a rough adjustment—not a sizing formula. A well-insulated, air-sealed garage may need less extra capacity; a drafty detached garage with tall ceilings or a leaky overhead door may need more. Ceiling height matters because a taller space contains more air and may stratify, with warmer air collecting overhead.
What to check before settling on a size
- Insulation: Check the walls, roof or ceiling, and garage door. Insulating only one surface may not solve major heat loss elsewhere.
- Air leakage: Inspect door seals, window edges, and the junction between the garage door and its frame.
- Ceiling height: Note whether the space is a standard-height garage or has a tall or vaulted ceiling.
- Use pattern: Consider whether you maintain a steady temperature or heat the garage only when working in it.
- Local winter design conditions: Ask for capacity data at your area’s cold-weather temperatures, not just the model’s nominal rating.
If you’re between sizes, don’t automatically choose the larger unit. A load calculation or a sizing review based on the actual garage is more reliable than multiplying square footage by a generic BTU-per-square-foot figure.
Zone Air vs. MRCOOL for a DIY Garage Mini-Split
Zone Air and MRCOOL may both come up when you’re researching a DIY-friendly mini-split, but compare specific models and installation terms rather than assuming every system from either company has the same features. The right choice depends on more than the name on the box: verify heating capacity at low temperatures, the HSPF2 and SEER2 ratings, voltage, line-set length, warranty terms, and what the installation package actually includes.
MRCOOL is known for DIY-oriented product options, including models marketed with pre-charged line-set connections. That can simplify some installation steps, but it does not mean every homeowner can install every model without checking the manual, local codes, and electrical requirements. Confirm the exact connection method and permitted line-set lengths for the model you’re considering.
When comparing a Zone Air offering with an MRCOOL system, ask what is included and what is not. Check whether you’re buying directly from the manufacturer, through a retailer, or through an installer, and who handles technical support and warranty claims. Angi can be one place to look for local installation professionals or customer feedback, but reviews are not a substitute for checking qualifications, permits, and the manufacturer’s written warranty.
Comparison point What to verify for either option Cold-weather heating Capacity and operating range at low outdoor temperatures, not HSPF2 alone DIY installation Whether the model is designed for homeowner installation and which steps require special tools or a professional Line set Included length, connection type, minimum and maximum length, and whether excess line can be routed neatly Warranty and support Coverage for DIY installation, parts, labor, registration, and who to contact for service Electrical Voltage, minimum circuit ampacity, maximum overcurrent protection, and required disconnectOne practical installation detail: avoid a setup that requires you to coil a long excess line set behind the condenser just to make it fit. Follow the manual’s instructions for line routing and minimum bend radius, and plan the indoor and outdoor unit locations before purchasing. A clean, serviceable route is better than hiding an awkward coil behind the unit.
115V Plug-In or 230V Dedicated Circuit?
Some smaller mini-splits use 115V power, while many larger systems require 230V. A 115V model may be appealing if its electrical requirements match an existing circuit, but “plug-in” does not mean you can use any convenient outlet or extension cord. Check the nameplate and installation manual for the required circuit, plug or hardwired connection, and overcurrent protection.
A 230V system typically needs a properly sized dedicated circuit and a disconnect near the outdoor unit. The exact breaker size is not a guess based on voltage or BTU capacity. Follow the unit’s minimum circuit ampacity (MCA) and maximum overcurrent protection (MOCP) values, as well as local electrical code. Breaker size, wire gauge, and disconnect requirements must work together.
Before choosing a system, look at your panel capacity and have an electrician confirm whether the required circuit can be added. Don’t swap a breaker or reuse an undersized circuit to make a unit fit. Electrical work may require a permit, and manufacturer instructions or local rules may require a qualified installer for certain tasks.

Outdoor Placement: Condenser Pad or Wall Brackets?
The outdoor unit needs a stable, level location with adequate clearance for airflow and service. A condenser pad is a common ground-mounted option, while wall brackets can raise the unit above snow, standing water, or debris. Neither is automatically right for every garage. Follow the manufacturer’s clearance requirements and consider snow accumulation, roof runoff, vibration, and access for maintenance.
In snowy climates, elevating the condenser may help keep it clear of drifting snow, but the unit still needs room for airflow and defrost water to drain. A pad should be level and placed where drainage won’t freeze into a hazard. Brackets need a sound structural attachment and must be installed according to the equipment instructions; a flimsy wall mini split filter cleaning schedule or incorrect mounting can cause vibration and damage.
A Practical Buying Checklist
- Measure the garage and record ceiling height, insulation, door condition, and how you plan to use the space.
- Use garage-specific sizing; treat the 30%–50% increase over an interior room as a starting point, not a final calculation.
- Compare HSPF2 and SEER2, then check low-temperature heating capacity and operating limits.
- Estimate operating costs using your utility rate, while recognizing that the result is only a planning estimate.
- Confirm whether the model is 115V or 230V and verify circuit requirements from the manual before ordering.
- Compare Zone Air and MRCOOL by exact model, included line set, DIY requirements, support, and warranty—not by brand reputation alone.
- Plan the condenser location, drainage, snow clearance, and line-set route before installation.
The Bottom Line
HSPF2 is a useful measure of seasonal heating efficiency, but it cannot predict your exact winter bill by itself. Use it to compare similar heat pumps, then account for local electricity prices, cold-weather capacity, garage insulation, ceiling height, and installation quality. A correctly sized system with appropriate electrical service can be a better real-world choice than a higher-rated unit that is poorly matched to the garage.
For a realistic heat pump winter cost estimate, start with the building—not the brochure. Seal and insulate where practical, confirm the electrical requirements before buying, and compare complete model specifications. That’s the way to turn HSPF2 from a label into a useful part of your decision.